Welcome to the magical moments of the golden hour – that fleeting time just after sunrise or before sunset which offers a soft, warm glow that can transform the ordinary into the extraordinary. In this post, I’ll guide you through mastering the art of capturing warmth in your travel photos during these precious minutes.
What Is the Golden Hour?
The golden hour is known for the quality of light that is particularly flattering to the landscape. It is characterized by its warm tones, long shadows, and soft, diffused light. It’s a favorite among photographers for the way it can add depth, dimension, and emotion to a photograph.
Why the Golden Hour is a Photographer’s Best Friend
The light during golden hour has several unique qualities:
- Warmth: The lower angle of the sun casts a warm glow that can make any scene feel inviting.
- Softness: Harsh shadows and overexposure are less of a concern during this time.
- Direction: The sun’s low angle creates longer shadows and can help to define textures and shapes in a photograph.
How to Make the Most of the Golden Hour
Here are some tips to help you capture the essence of the golden hour in your travel photography:
Plan Ahead
- Timing is Everything: Use apps or websites to find out the exact times for sunrise and sunset in your location.
- Scout Your Location: Find the perfect spot in advance. Look for places where the light interacts interestingly with the landscape.
Camera Settings
- White Balance: Set your white balance to “cloudy” to enhance the warm tones.
- ISO: Keep your ISO as low as possible to ensure the smoothest image.
- Aperture: A wider aperture can give you a beautifully blurred background, while a smaller aperture will keep more of the landscape in focus.
- Shutter Speed: Adjust shutter speed according to the light. Remember, the light changes quickly during golden hour!
Composition Techniques
- Silhouettes: Place subjects between the camera and the sun to create dramatic silhouettes.
- Flares and Sunbursts: Position the sun at the edge of your frame to create a flare or sunburst effect.
- Reflections: Use reflections from water or glass to double the golden hour effect.
Post-Processing
- Enhance Warmth: Gently push the temperature slider towards warm tones.
- Increase Vibrance: A slight boost can make the golden hour colors pop.
- Adjust Shadows and Highlights: Bring out details lost in shadow and tame overly bright highlights.
Examples from My Work
Photo Description
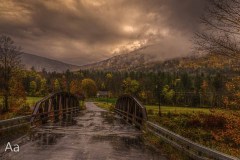
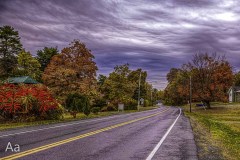
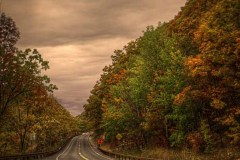
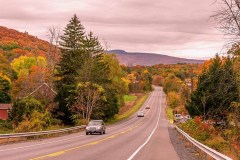
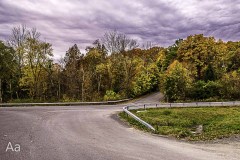
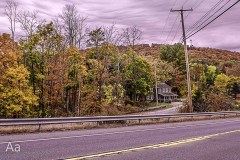
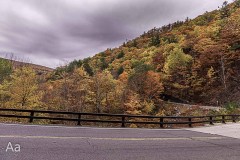
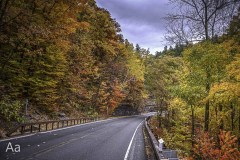
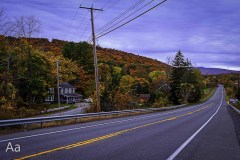
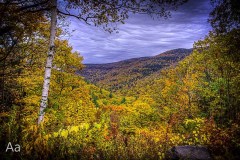
Here’s an example from Astoria Park in New York, where the setting sun cast a golden blanket over the ancient Astoria. Note how the long shadows create a sense of depth.
Photo 2 Description
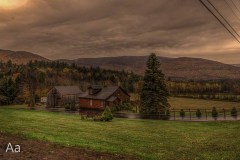
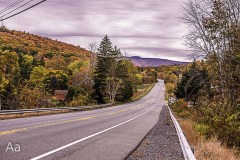
In this photo taken in the same place during the golden hour light softens the urban landscape, giving the bustling streets a serene ambiance.
Main blog photo Description
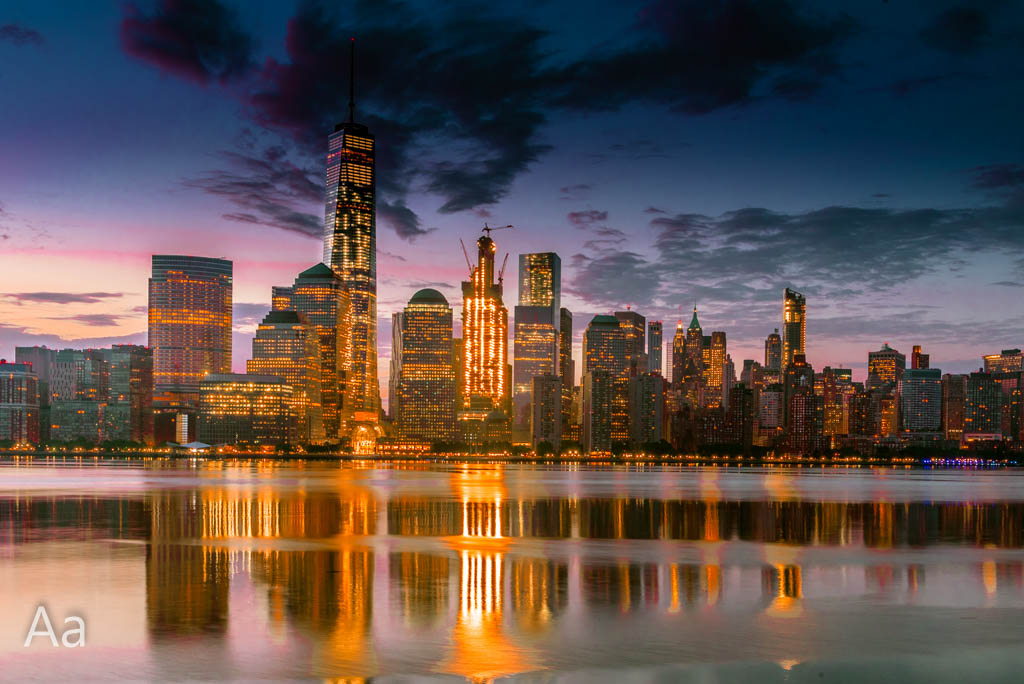
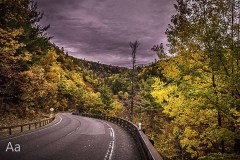
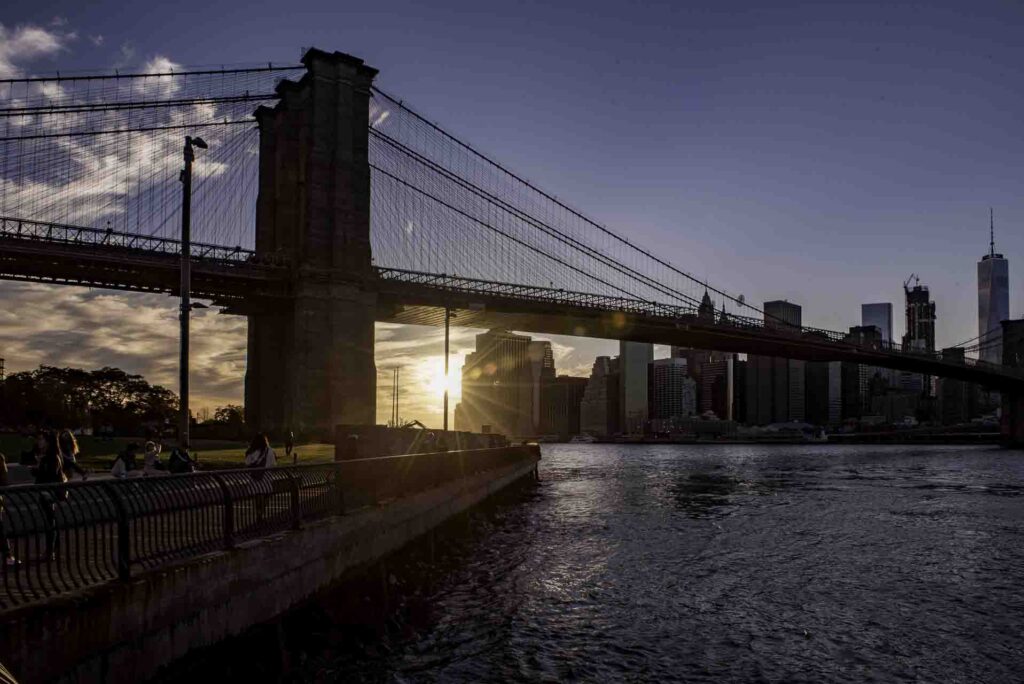
The silhouette of Brooklyn bridge against the setting sun on Hudson River showcases the dramatic potential of golden hour photography.
Embracing the Golden Moments
The beauty of the golden hour is that it’s accessible to everyone, everywhere. Whether you’re in a bustling city or atop a quiet hill, these moments of warmth can transform your travel photos into a collection of moments that truly resonate with the essence of the place.
So, the next time you’re out exploring, set your alarm a little earlier or linger as the day ends. With the golden hour, you have the opportunity to capture not just a photograph, but a feeling – the warm embrace of the world in golden light.
Remember to intersperse your text with your stunning golden hour photos to give readers real-world examples of the principles you’re explaining. This not only makes the post more engaging but also establishes your expertise and credibility as a travel photographer.
